
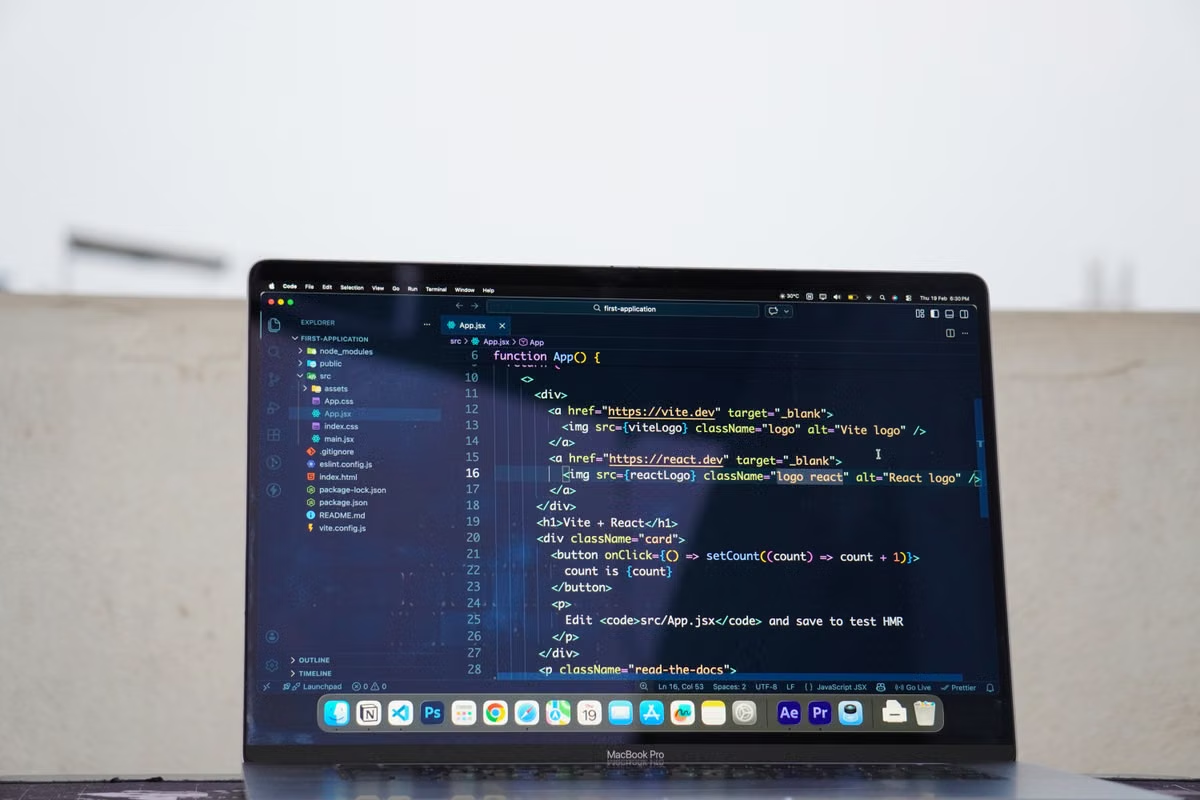
GitHub documents three project entry paths for the GitHub Copilot App: a local folder, a GitHub repository, or another Git URL. That means a GitHub Copilot App remote Mac workflow is viable, but only if the Mac is remotely accessible, the repository permissions are correct, Xcode matches the project, and secrets stay outside shared images. GitHub’s official setup guide confirms the supported project workflow.
Symptom: The app opens remotely, but the agent cannot access the repository, run Xcode tests, or safely use signing credentials.
Fastest fix: Prepare the Mac first, sign in with the correct GitHub identity, start from an isolated branch, validate the smallest test command, and treat the first pull request as the deployment acceptance test.
This article is for:
- Developers without a permanently available Mac who still need to build Apple platform software.
- Distributed teams that want an agent to run for longer periods without occupying a developer’s personal computer.
- Platform engineers standardizing macOS, Git, Xcode, authentication, and test environments.
What the remote Mac must provide before installation
A remote Mac is not simply a Mac with screen sharing enabled. It must support four separate layers:
- Interactive access: You need a reliable way to open the desktop, approve sign-in prompts, inspect dialogs, and recover from a stalled process.
- Development compatibility: The installed macOS version must support the Xcode version required by the project.
- Repository access: Your GitHub identity must have permission to read, clone, push branches, and open pull requests where required.
- Credential isolation: GitHub authentication, model credentials, signing identities, and project secrets must not be baked into a reusable image.
GitHub currently lists the GitHub Copilot App for macOS, Windows, and Linux. GitHub also states that Business and Enterprise users may need an administrator to enable the Copilot CLI policy before the app can be used. GitHub’s product documentation describes the supported platforms and organization policy condition.
Before you begin, record these project facts:
- The required macOS release.
- The required Xcode release.
- The SDK and deployment targets expected by the project.
- The package manager and dependency lock files.
- The test command used by CI.
- The GitHub organization and repository.
- Whether the project requires an Apple Developer account, provisioning profile, or signing certificate.
Do not guess the Xcode requirement from the newest release. Apple maintains a compatibility table connecting Xcode releases with supported macOS versions, SDKs, deployment targets, and device support. Use Apple’s Xcode support matrix and the project’s own configuration files before you choose the remote Mac image.
| Check | What you need to confirm | Failure if skipped |
|---|---|---|
| Remote login | Desktop access, terminal access, and recovery access | You cannot approve prompts or repair a failed session |
| macOS | Compatible with the selected Xcode release | Xcode refuses to install or launch |
| GitHub | Repository role and Copilot policy | Login succeeds but cloning or pushing fails |
| Storage | Space for Xcode, SDKs, dependencies, and build artifacts | Builds fail after the environment appears ready |
| Network | GitHub, package registries, Apple services, and CI endpoints | Dependency resolution or authentication times out |
Can the GitHub Copilot App be installed on a remote Mac?
Yes, if you can interact with that Mac as a normal desktop user and the operating system is supported. Remote access does not change the application’s basic installation model. However, a browser-only shell or a restricted terminal session may not be enough because the first launch can require a graphical sign-in flow.
Prepare the account and separate every credential
Use a dedicated development identity when the Mac will be accessed by more than one person or retained for repeated work. Do not share a personal GitHub session across a team.
The credentials below should be handled separately:
| Credential category | Where it should live | What not to do |
|---|---|---|
| GitHub login | GitHub’s authentication flow or approved system credential storage | Do not place tokens in shell history or project files |
| Model provider key | The app’s supported provider configuration | Do not commit it to the repository or image |
| Signing certificate | macOS Keychain with controlled access | Do not copy private keys into a shared folder |
| Provisioning profile | Project-specific protected storage | Do not attach it to a public artifact |
| App and service secrets | Environment-specific secret storage | Do not add them to .env files committed to Git |
Apple explains that code signing relies on cryptographic identities and that private keys are commonly stored in the Keychain. Apple’s signing and verification documentation provides the relevant security model.
The practical rule is simple: configure software in the image, but inject identity and secrets only after the assigned user has authenticated.
A reusable image may contain:
- Git.
- Xcode, if licensing and storage requirements permit.
- Command-line tools.
- Package manager binaries.
- Common shell configuration.
- Non-sensitive build utilities.
A reusable image should not contain:
- A signed-in GitHub account.
- Personal access tokens.
- Model API keys.
- Distribution certificates.
- Provisioning profiles tied to a specific team.
- Production environment variables.
- Private repository contents.
For Xcode automation, remember that the full Xcode installation and the standalone Command Line Tools package are not equivalent. Apple notes that xcodebuild and xctrace ship with Xcode but are not included in the standalone Command Line Tools package. Apple’s command-line tools documentation explains the distinction.
How should GitHub and signing credentials be saved safely on a remote environment?
Keep GitHub authentication, model keys, and signing identities in separate stores with the smallest required permissions. Use the macOS Keychain for signing material, avoid shell-history exposure, remove credentials during teardown, and require a fresh login when the Mac changes users.
Install GitHub Copilot App and complete authentication
Follow this sequence rather than installing the app after cloning a large project:
- Open the remote Mac through its approved remote desktop or console method.
- Confirm the macOS version and the current user account.
- Download the GitHub Copilot App from GitHub’s official app page.
- Install it in the normal macOS application location.
- Launch the app and select the GitHub sign-in option.
- Complete authentication in the browser or the displayed authorization flow.
- If your organization uses Copilot Business or Enterprise, confirm that the administrator has enabled the required policy.
- If you use your own model provider, configure that provider only after confirming the key’s scope and storage behavior.
GitHub’s setup instructions state that the app can use a Copilot plan or a configured model provider. They also note that Git must be installed before connecting projects.
Authentication has two independent outcomes:
- Application authentication: The app recognizes your GitHub account.
- Repository authorization: That account can access the required organization, repository, branch, and pull request actions.
Do not treat a successful login as proof that a private repository is available. Organizations can restrict repository access, Copilot features, third-party applications, or command-line policies independently.
If the app opens but your expected repositories do not appear, test access outside the app with a low-risk repository or use the repository’s approved Git URL. For a private project, confirm that your account can view the repository in the browser and clone it through the normal Git workflow before blaming the app.
Connect the repository through an isolated first session
The first session should prove the workflow, not attempt a major feature.
How does the GitHub Copilot App connect to a private repository?
Use the repository picker when the project is visible to your authenticated GitHub account. If the repository is not available through the picker, connect a locally cloned folder or provide an approved Git URL. GitHub documents all three project paths in its setup guide.
Use this order:
- Create or select a low-risk branch.
- Connect the local folder, GitHub repository, or approved Git URL.
- Confirm the folder contains the expected
.gitdirectory. - Check the current branch and working tree state.
- Ask the agent to inspect the project without editing files.
- Give it a small reversible task, such as adding a test or improving a local error message.
- Review every file change.
- Commit only after the change matches the task.
- Push the branch and open a draft pull request.
- Review the diff and CI result manually.
Avoid starting on the default branch. An isolated branch gives you a clean rollback point and makes it easier to determine whether a failure came from the agent, the project, the remote Mac, or the repository policy.
The GitHub Copilot App supports parallel workspaces, with separate sessions using dedicated Git worktrees and branches. That can help a team run independent tasks, but it also increases the need for branch naming, workspace cleanup, and resource monitoring.
Align Xcode, dependencies, and test commands
The remote Mac becomes useful only when the agent can reproduce the project’s real validation path.
Start with project evidence:
Package.swiftor dependency lock files.Podfile.lock, if the project uses CocoaPods.Package.resolvedfor Swift Package Manager dependencies..xcodeprojor.xcworkspacesettings.- CI workflow files.
- Build scripts and test documentation.
- Deployment target settings.
- Scheme names used by automation.
Then configure the environment:
- Install the project-required Xcode release.
- Open Xcode once and complete any required first-run setup.
- Select the intended developer directory.
- Confirm the simulator or device destination required by the tests.
- Resolve dependencies from the lock files.
- Run the project’s smallest build or unit test command.
- Run the same command through the GitHub Copilot App session.
- Compare local output with the project’s CI expectations.
Do not install only the standalone command-line tools if the project depends on xcodebuild, xctrace, simulators, Interface Builder, or other full-Xcode components. Apple explicitly distinguishes those tools from the standalone package.
| Project need | Minimum validation | Better acceptance signal |
|---|---|---|
| Swift package | Dependency resolution completes | Unit tests pass from a clean checkout |
| iOS or macOS app | Xcode opens the project or workspace | Build succeeds using the CI scheme |
| Simulator tests | Required simulator destination exists | Tests pass without manual UI intervention |
| Signing workflow | Correct team and identity are selected | Archive or signing step succeeds without exposing keys |
| Agent automation | Session can inspect and edit a branch | Agent-generated change passes the same checks as a human change |
If the project’s Xcode and macOS requirements conflict with the available Mac, stop there. Do not work around the mismatch by changing deployment settings merely to make the remote environment appear functional.
Use a cost and ownership decision before committing
A remote Mac can be operated in several ways. The right choice depends on access duration, control requirements, and whether the machine must remain available after a developer disconnects.
| Operating model | Best fit | Main advantage | Main drawback |
|---|---|---|---|
| Personal Mac with remote access | Occasional individual work | No separate environment to maintain | Interrupts the owner and mixes personal credentials |
| Dedicated office Mac | Small team with stable hardware access | Full physical control | Requires hardware, power, updates, and recovery planning |
| Rented remote Mac | Temporary projects or distributed teams | Faster access without buying hardware | Depends on the rental provider’s delivery and access process |
| Shared build host | Centralized CI and repeatable builds | Standardized automation | Poor fit for interactive agent sessions and manual signing |
| Local Mac plus remote CI | Developers already own compatible Macs | Good separation between editing and validation | Does not solve the lack of an interactive Mac |
The key cost is not just the monthly machine fee. Include:
- Idle time while waiting for a physical Mac.
- Setup and teardown labor.
- Xcode download and update time.
- Storage for dependencies and build artifacts.
- Remote access administration.
- Credential rotation.
- Recovery after a failed update.
- Engineer time spent switching between an agent session and a separate build host.
Choose the simplest model that meets the project’s acceptance criteria. A rented Mac is often easier to justify when the need is temporary, distributed, or tied to a release window. A purchased Mac may be better for continuous heavy workloads, physical device testing, or strict hardware control.
If you want to compare available remote Mac scenarios before selecting a deployment model, review Kvmzen’s remote Mac use cases alongside your project’s access and testing requirements.
Run the first-day acceptance workflow
A remote Mac should not be considered ready because the app launches. Use an acceptance chain that ends in a reviewable pull request.
| Acceptance step | Pass condition | Required human action |
|---|---|---|
| Remote login | You can reconnect after closing the session | Confirm recovery path |
| GitHub login | Correct account and organization are visible | Verify repository role |
| Repository connection | Project opens from the approved source | Check remote URL |
| Branch isolation | Work begins away from the default branch | Confirm branch name |
| Agent task | Small change is produced in the expected files | Inspect the diff |
| Xcode validation | Required build or tests complete | Review warnings and failures |
| Git workflow | Commit and push succeed | Confirm author and branch |
| Pull request | Draft PR contains a clear diff and checks | Human review before merge |
| Teardown | Temporary credentials and workspaces are removed | Record cleanup result |
GitHub’s agent security guidance emphasizes branch restrictions, limited credentials, and human review before merging for agent-generated changes. Although local app sessions and cloud agents are not identical, the same control principle applies: do not let successful automation bypass review. GitHub’s risk and mitigation guidance explains why branch limits and human review matter.
For the first task, select something with a narrow blast radius:
- Add or update a unit test.
- Improve a local validation message.
- Refactor one isolated function.
- Update documentation in the repository.
- Fix a warning with an obvious expected result.
Avoid using the first session for signing a production archive, changing CI permissions, rotating organization secrets, or modifying release automation.
Maintain the environment after the first PR
Remote development environments drift quickly. Schedule reviews around events that can invalidate the workflow:
- macOS updates.
- Xcode updates.
- GitHub Copilot App updates.
- Model provider changes.
- Package manager changes.
- Repository permission changes.
- Certificate or provisioning profile expiration.
- CI workflow changes.
- Remote access software changes.
After each major update, repeat the smallest complete path:
- Open the remote Mac.
- Launch the GitHub Copilot App.
- Authenticate if required.
- Open a test repository.
- Create a branch.
- Run a harmless agent task.
- Execute the project’s test command.
- Push a test branch or draft PR.
- Remove the test workspace and temporary credentials.
Keep session records free of secrets. A session transcript, terminal log, or screen recording can expose tokens, repository URLs, internal paths, or signing details even when the code change itself is harmless.
If several developers share the environment, give each person a separate macOS account or a clearly isolated workspace. Do not rely on branch names alone to separate credentials. A branch can isolate code changes; it does not isolate Keychain access, shell history, cached tokens, or local configuration.
Decide whether this setup fits your team
Use this decision path before you provision anything:
- If the project requires Xcode, Apple SDKs, simulators, or signing, choose a real remote Mac rather than a generic Linux or Windows development host.
- If the project can be built and tested entirely in CI and does not need interactive macOS tools, use CI as the primary build path and keep the remote Mac optional.
- If the team needs long-running agent sessions without blocking personal laptops, choose a dedicated or rented Mac with explicit cleanup rules.
- If several users need the same credentials or production signing identity, stop and redesign the access model before sharing the machine.
- If the required macOS and Xcode versions cannot coexist, change the Mac environment or the project plan; do not hide the mismatch with undocumented workarounds.
- If the task changes release automation, authentication, or production configuration, require human review and a separate approval step.
The most reliable definition of “deployed” is not “the app installed.” It is:
A developer can reconnect, open the intended repository, create an isolated branch, run the required Xcode validation, produce a reviewable PR, and remove temporary credentials without exposing project secrets.
A personal Mac remains convenient, but it has three recurring weaknesses for this workflow: it may be unavailable when an agent needs to run, it mixes personal and project credentials, and it gives a distributed team no consistent environment. A shared office Mac adds hardware ownership, update, power, and recovery work. A generic cloud host avoids some hardware costs but cannot replace macOS-specific Xcode and signing behavior.
If you need a Mac only for a project cycle, distributed development, or controlled testing rather than permanent heavy use, a Kvmzen remote Mac environment can be a more practical middle option than buying another machine or sharing a developer’s laptop. Before arranging access, review the Kvmzen service overview and confirm that the available macOS and Xcode combination matches your project. For a temporary environment, the important test is not how quickly the Mac is provisioned; it is whether your GitHub Copilot App session, Xcode test path, branch policy, and credential cleanup all pass together.